Bringing Swift through Distrobox on NixOS
· 5 min read
I am working on a project that combines Swift, Raylib, and Raygui.
I don’t really know what the end-goal is here, but I am having fun. That’s enough for me to work occasionally on that.
I like Swift very much, and I have had more fun developing in Swift than in Rust or C++ recently. But, there is a small catch with Swift outside the Apple ecosystem: its adaptability to other platforms sometimes, mostly on some Linux distributions. As an example, even though Swift is a general-purpose programming language for multiple platforms and OSs, its official support does not include NixOS, a Linux distribution I have been using for a few months now.
The latest version of Swift, maintained by the NixOS community, is 5.10.1.
People are actually trying to bring the latest version of Swift to nix systems, but it is not ready yet, and the installation today is still a loud, highly manual process with very specific steps.
I wish I had more time and knowledge to contribute to swift-nixos, but I also wanted to test my project very quickly on my small linux machine, under 15 minutes.
So… distrobox to the rescue!
The configuration #
Distrobox is a pretty cool project.
Its main objective is to bring any Linux distribution inside your terminal, via containers.
Compatibility is great, and the created container will communicate tightly with the host, sharing the HOME directory of the user, graphical apps (X11, Wayland), audio, … which is absolutely perfect for my needs!
On NixOS I enabled both rootless containers (via podman) and distrobox:
virtualisation.podman = {
  enable = true;
  # This makes typing 'docker' under the hood use podman
  dockerCompat = true;
  defaultNetwork.settings.dns_enabled = true;
};

environment.systemPackages = with pkgs; [ distrobox ];
Once the quick system rebuild is finished, I can finally set up my distrobox environment for Swift:
distrobox create --name swift-env --image ubuntu:26.04
Even though Swift is compatible with Ubuntu 24.04, I preferred to use the 26.04 LTS version instead.
This will need an extra step, as a dependency uses a different version than the one provided by apt (we will come to that later in this blog post).
Now, let’s enter the Ubuntu container:
distrobox enter swift-env
and… that’s it! I am in an Ubuntu environment, on my NixOS machine. Great!
Now, let’s set up that container as if it were a true local Ubuntu system:
$ sudo apt update && \
sudo apt install -y mesa-utils x11-apps git make libxml2-dev && \
curl -O https://download.swift.org/swiftly/linux/swiftly-$(uname -m).tar.gz && \
tar zxf swiftly-$(uname -m).tar.gz && \
./swiftly init --quiet-shell-followup && \
. "${SWIFTLY_HOME_DIR:-$HOME/.local/share/swiftly}/env.sh" && \
hash -r
swiftly and the Swift programming language are now installed in that Ubuntu container.
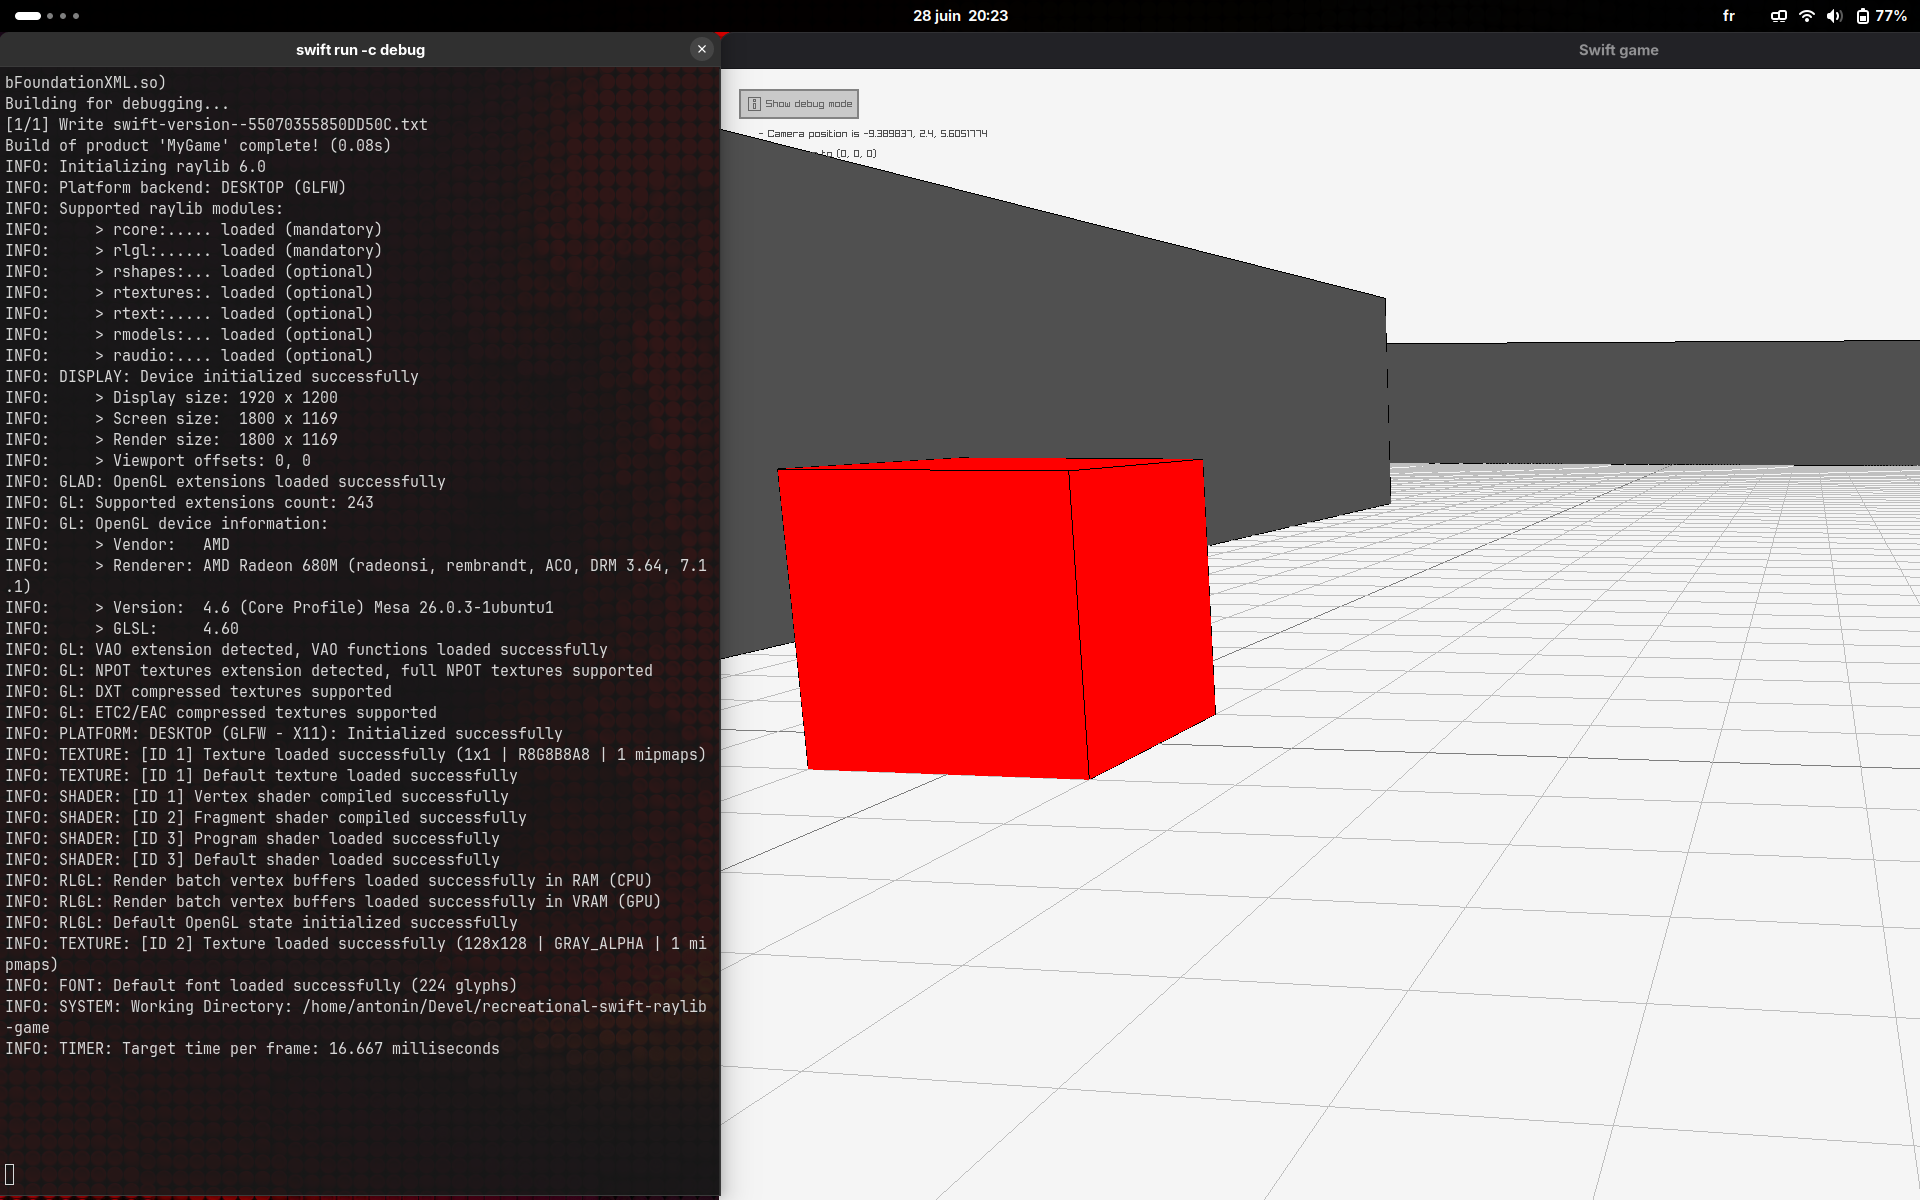
I can now go to my local project, and try to run it (debug mode):
cd ~/Devel/recreational-swift-raylib-game && swift run -c debug
but…
> /home/user/.local/share/swiftly/toolchains/6.3.2/usr/bin/lldb: error while loading shared libraries: libxml2.so.2: cannot open shared object file: No such file or directory
So close. But this makes sense!
I said earlier that the Swift installer proposes the Ubuntu 24.04 version, but not the 26.04 one.
In this newer Ubuntu release, the libxml2 developers introduced a backwards-incompatible update that bumped the shared library name from libxml2.so.2 to libxml2.so.16.
However, the pre-compiled Swift toolchains available through swiftly were built in environments that strictly expect the older libxml2.so.2. So, even though we have the latest version of the library installed, lldb is completely blind to it.
Let’s use the good old hack to trick the Swift toolchain into using the new version of the library by creating a symbolic link from the old filename to the new one:
sudo ln -s /usr/lib/x86_64-linux-gnu/libxml2.so.16 /usr/lib/x86_64-linux-gnu/libxml2.so.2
and it finally works!
The distrobox ini file #
To automate the setup, distrobox allows you to create an ini file that processes things automatically for you:
[swift-env]
image=ubuntu:26.04

init_hooks="apt-get update"
init_hooks="apt-get -y install mesa-utils x11-apps git make libxml2-dev"
init_hooks="ln -sf /usr/lib/x86_64-linux-gnu/libxml2.so.16 /usr/lib/x86_64-linux-gnu/libxml2.so.2"

# Pull the latest version of the image if it isn't cached
pull=true
init_hooks calls run as root to install system libraries and apply our symlink hack.
swiftly is intentionally excluded here, as my ~/.local/share directory is shared with the NixOS host, meaning swiftly only needs to be installed once manually!
A praise to nixpkgs maintainers #
Hopefully, this post will be helpful for anyone looking for a quick way to test their Swift projects on unsupported Linux distributions.
Even though this quick hack is great to quickly test a build on a Linux system, it does not fit the philosophy of NixOS: an automatic, deterministic system.
I want to thank all contributors and maintainers of the Swift programming language for Nix to dedicate their (mostly personal) time to bring this programming language, and ecosystem, to Nix systems.
So, a big thanks to Daniel Duan, Samasaur, Stéphan Kochen and Tom Repetti for maintaining Swift for Nix systems. Also, thanks to Lucas Ly Ba for his contributions in bringing a new way to build Swift from source on NixOS.
I plan to spend more time contributing to that topic as well, and on the LLVM side (trying to contribute to Swift WASM), as soon as I get more time to focus and contribute to open source projects.